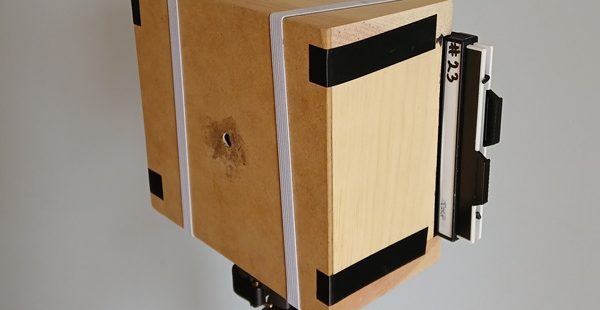
Pinhole Camera
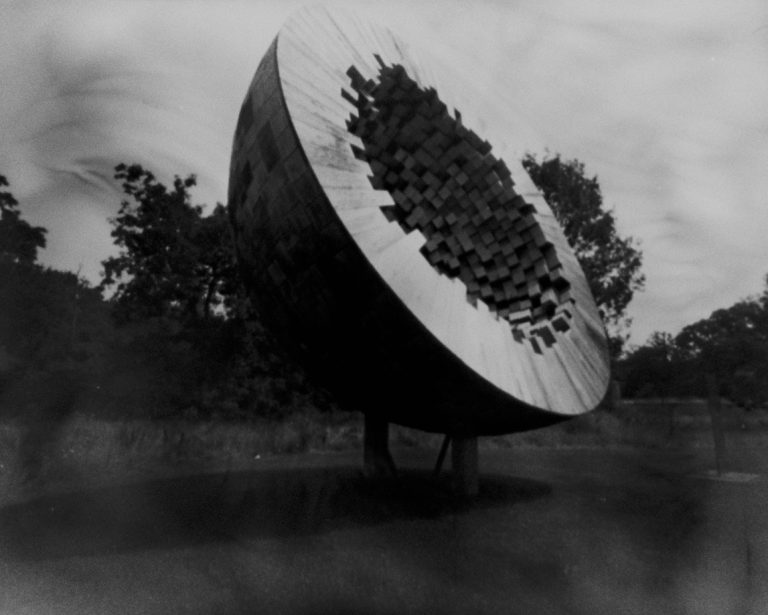
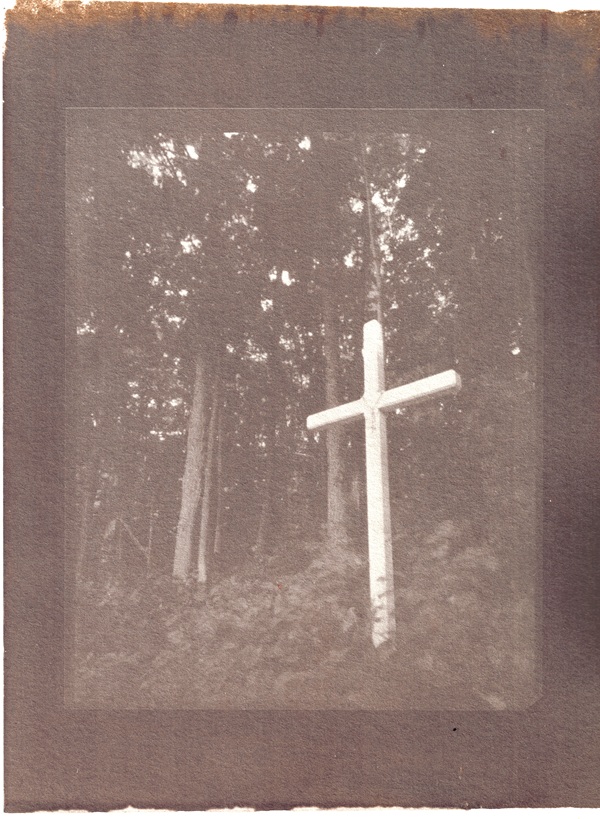
Pinhole photography is magic. It can also be extremely frustrating. Getting everything right is hard and luck is not always on your side. Below is my approach which yields some good results.
Calculating a proper exposure depends on knowing the f-stop of the camera, which in turn depends on knowing the diameter of the hole. I recommend buying a set of PCB drill bits.
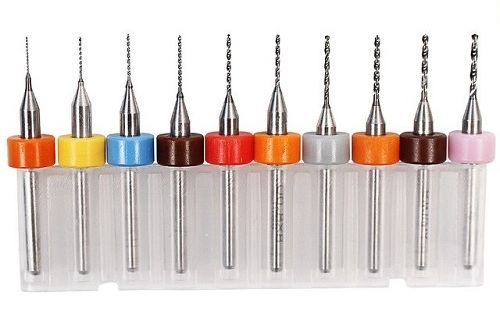
These bits are used to drill holes in printed circuit boards so that small electronic parts can be connected. They are sold in sets of various sizes, the bits sized in 0.1mm increments. A small set can be had from Amazon for between ten and twenty dollars. Useful sizes for pinhole photography are between 0.2 and 0.5 mm.
To make the pinhole, cut up an aluminum can into one-inch squares. Mark the center of the piece with a permanent marker, doing so makes it easier to center it on the camera body. Place the aluminum on a piece of cardboard or foamcore to prevent it from bending while being drilled. Drill the hole and be careful to keep the bit vertical so as not to snap it. Finally, clean the burr from the hole with a piece of fine sandpaper.
For film I’m using 4×5 Arista Ortho Lith. It is film intended for old-school graphic processes like copying line art and making printing plates. Its advantage is low cost. Its tonal range is nowhere near Ilford’s offerings, but at $0.75 per sheet you can’t really complain. It is extremely fine-grained, and on a sunny day calculating an exposure at ISO 6 with a reciprocity factor of 1.33 yields a decent result. Being cheap makes is easy to experiment, you don’t feel the sting of wasted money.
This film can be handled under a red safelight and developed in open trays. I’ve had success with highly dilute Rodinal, 1:100 or 1:200, for between two and five minutes. Just pull it out of the soup when it looks done. Stronger dilutions make the development time extremely short and yield uneven density.
Claude and I put together a simple web page to calculate the optimum pinhole size, and the exposure time. You can find it here.
Meter the scene with a storebought camera set to, say, f8 and ISO 100. Use the page to convert this metered value to an exposure time for your pinhole camera. It will return two calculated exposure times: the base exposure and one that accounts for reciprocity. By default the reciprocity exponent is 1.33, which seems to work well enough.
Another advantage Arista Ortho has is a transparent base. This makes it suitable for making prints using alternative processes like cyanotype or salt printing.