Simple 555 Project
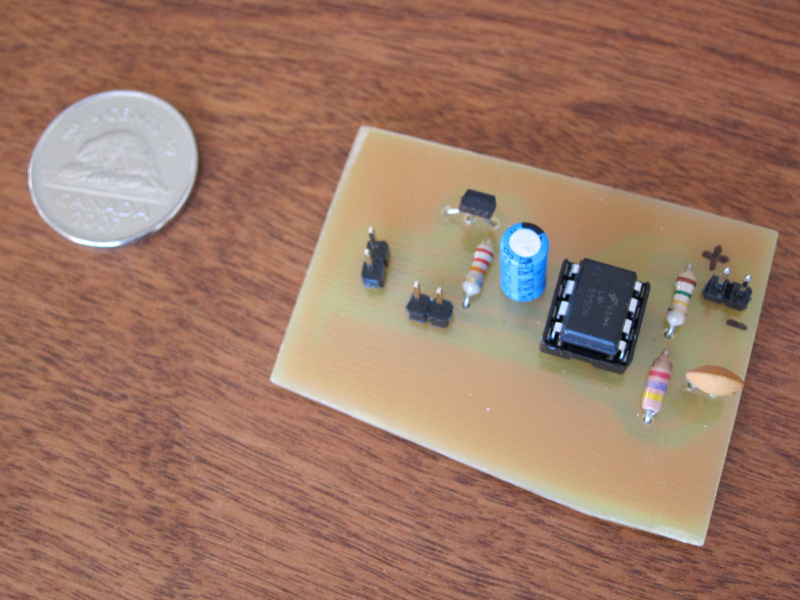
I have put together a simple 555 project using the toner transfer method. My aim was to blink two LEDs out of phase, with no particular timing in mind beyond something that might look good on robot costume at Halloween. The components for configuring the timer were scrounged from a grab-bag of junk, and I drew up the circuit and traces in Eagle.
The tricky bit was getting the traces laid out correctly. Eagle is easy to use, but doesn’t do any of work for you. With experience I suppose it gets easier, but it took me several hours of trial and error to get something usable. Routing traces seems like an ideal job for someone with OCD, or a good way to end up in the nuthouse.
The easiest way to print the traces was by importing the images into Word because it preserved the DPI values of the original images. I also added mirrored copies of the trace because my spatial reasoning abilities foundered on the relationship between the trace in Eagle and how it would be transferred to the board. I printed the trace on cheap glossy ink jet paper in my office’s laser printer.
Protip: Make sure the paper is thin enough to make it through the machine without jamming, or have a sympathizer in IT.
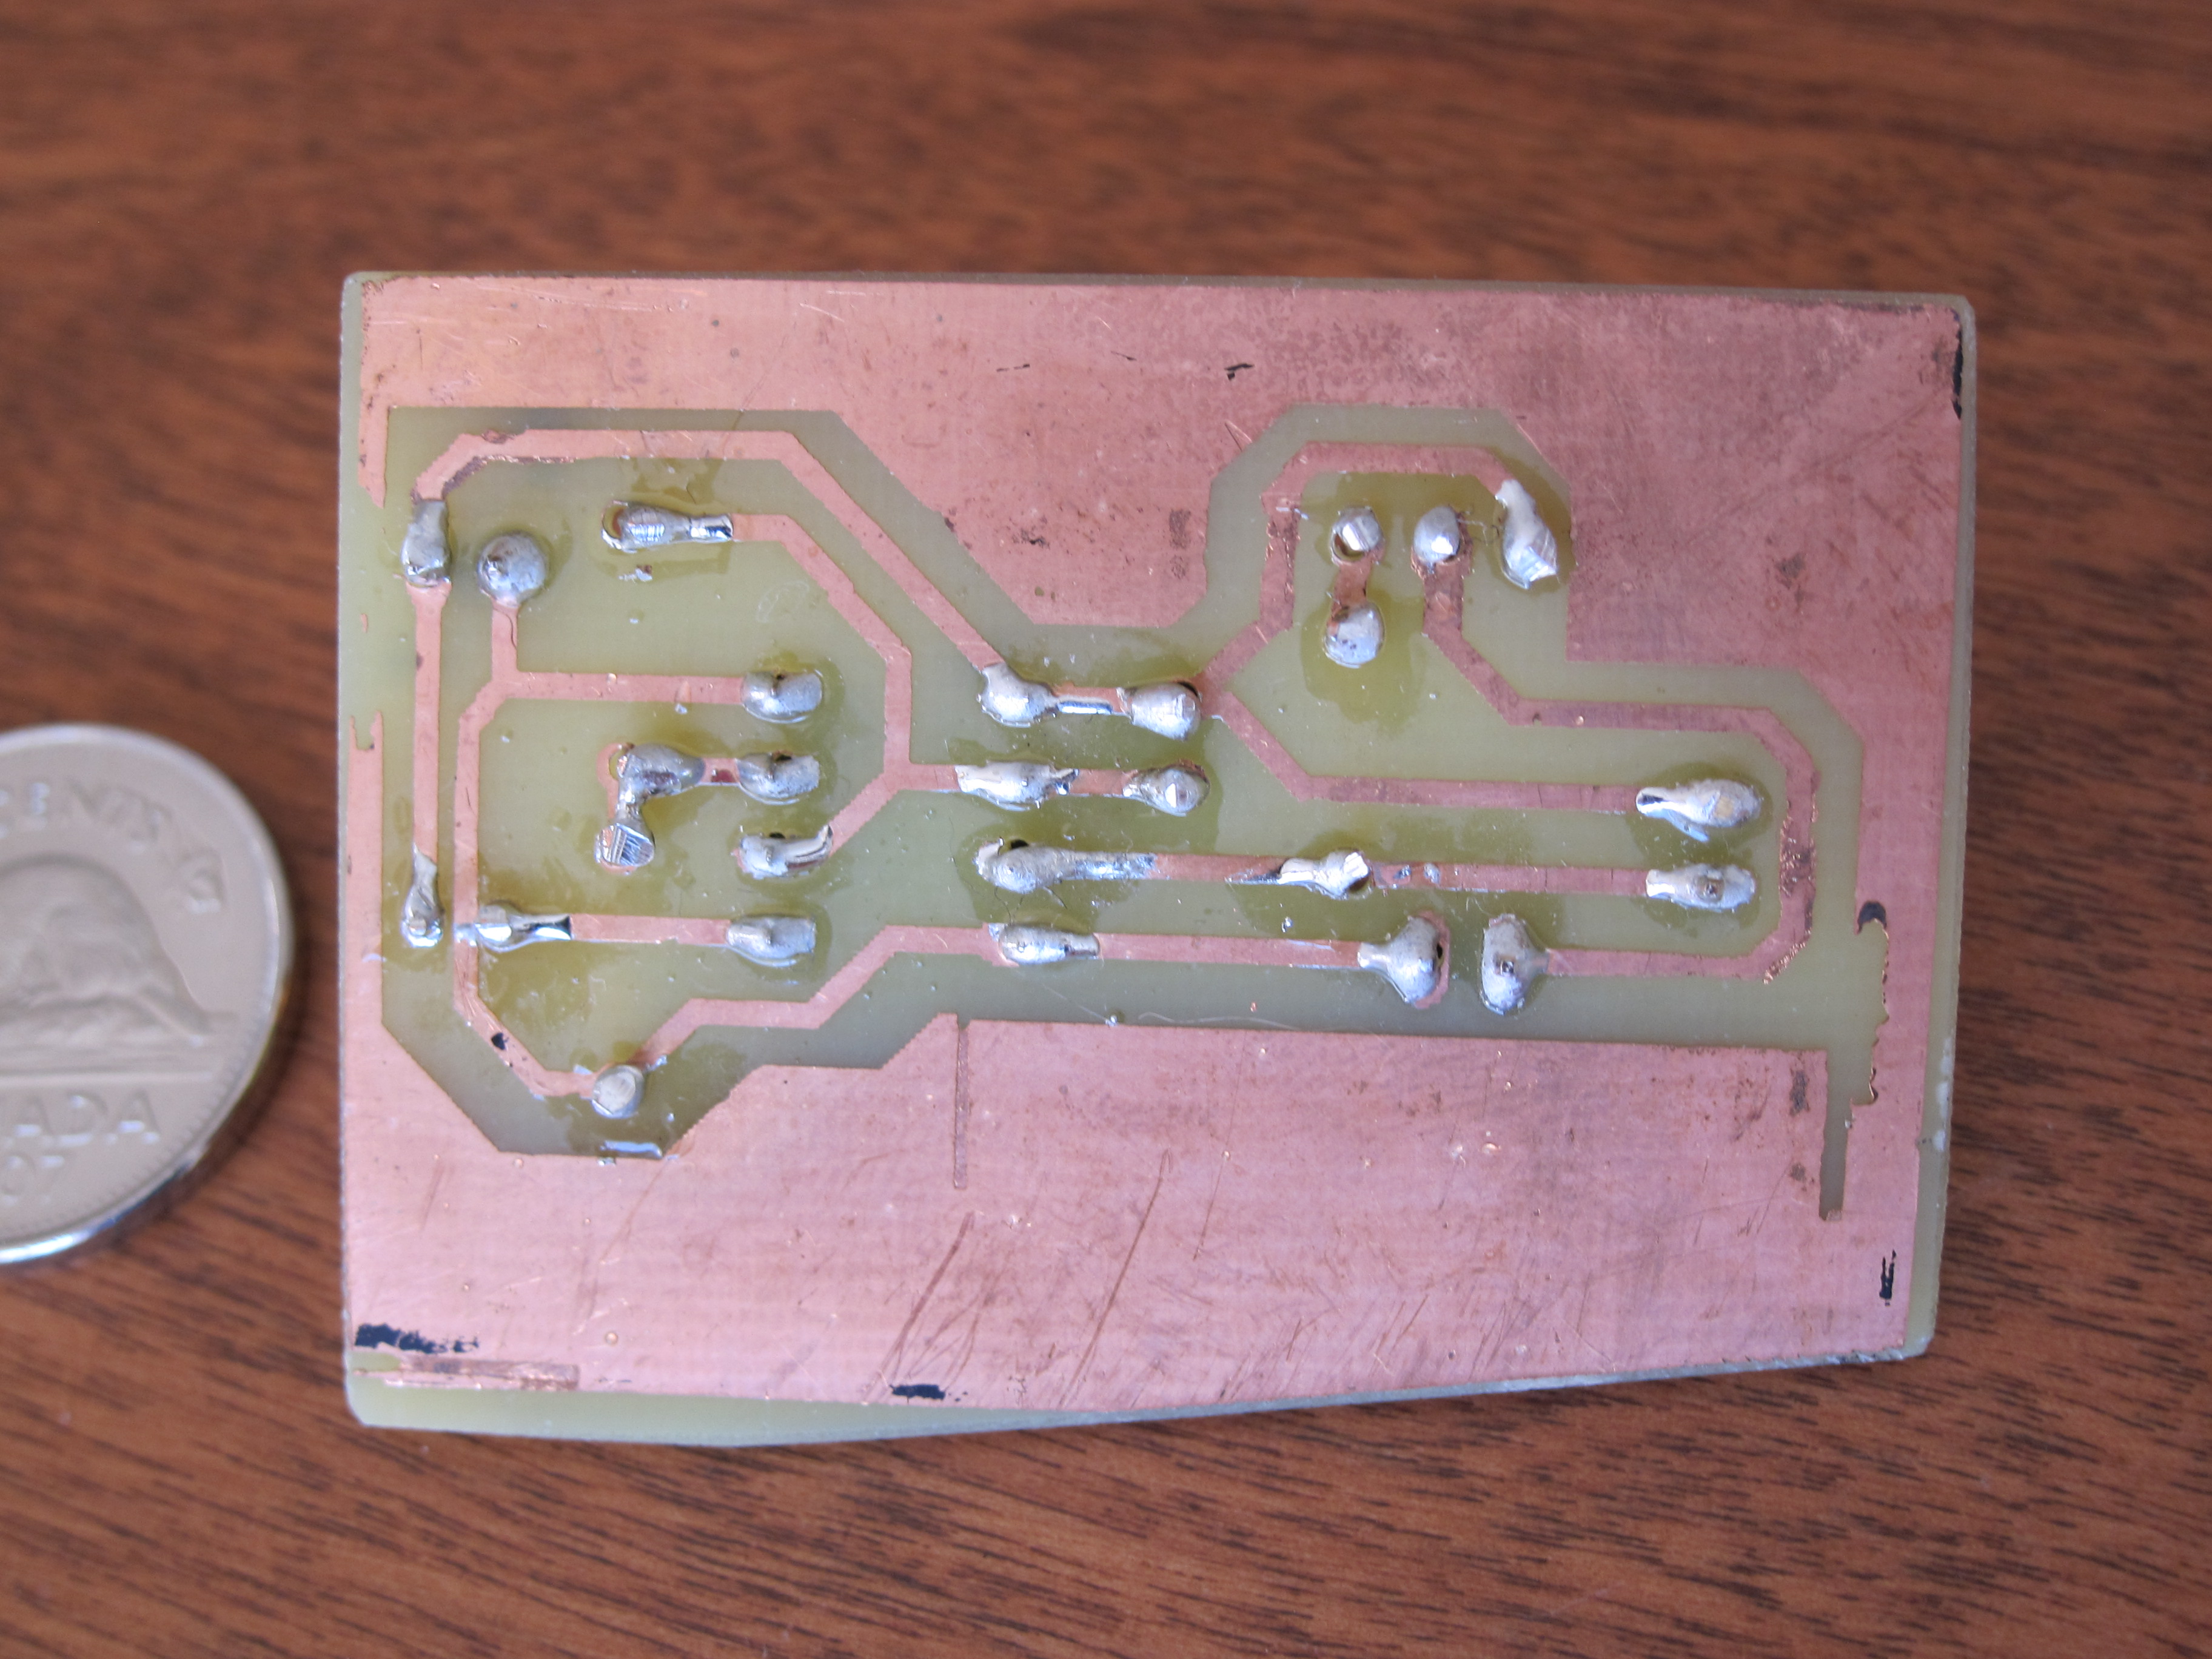
Transferring the toner onto the board with an iron is fairly straight forward, but a double-sided board would be hard to get into register. Removing the clay from the exposed areas of the board is a delicate process. I ruined one by scrubbing to hard, but touch-ups can be made with a Sharpie. I etched the board with ferric chloride in a Ziploc bag without making a mess.
Protip: Do not use all your spouse’s nail polish remover to remove the toner.
This was a good exercise to get started with Eagle and etching. I’ll try making a board for an AVR next.